


By Amanda Kavanagh
27th Nov 2023
27th Nov 2023

Painting kitchen cabinets can be transformative and can be achieved relatively low-cost, but you need the right equipment, and a lot of patience.
A hand-painted kitchen will always have a certain look that’s different to a sprayed glossy factory finish. You should expect to have some brush strokes and the odd drip, but the amount depends upon your skill with a paintbrush, the paint used, the tools used, and of course, your patience.
We caught up with Oisín Butler of Oisín Butler Painting and Decorating Specialists to hear his advice for (almost) perfect painting.
Give yourself plenty of time
Hand-painting your kitchen cabinets can be quite therapeutic and there’s nothing better than seeing all your hard work producing the kitchen of your dreams. But, if you think that it’s going to be a quick project and that you’ll be finished in an afternoon or two, you could end up with a kitchen nightmare. Make sure to set aside enough time to do the work. Even better if you can break the project down into stages and complete one stage at a time.
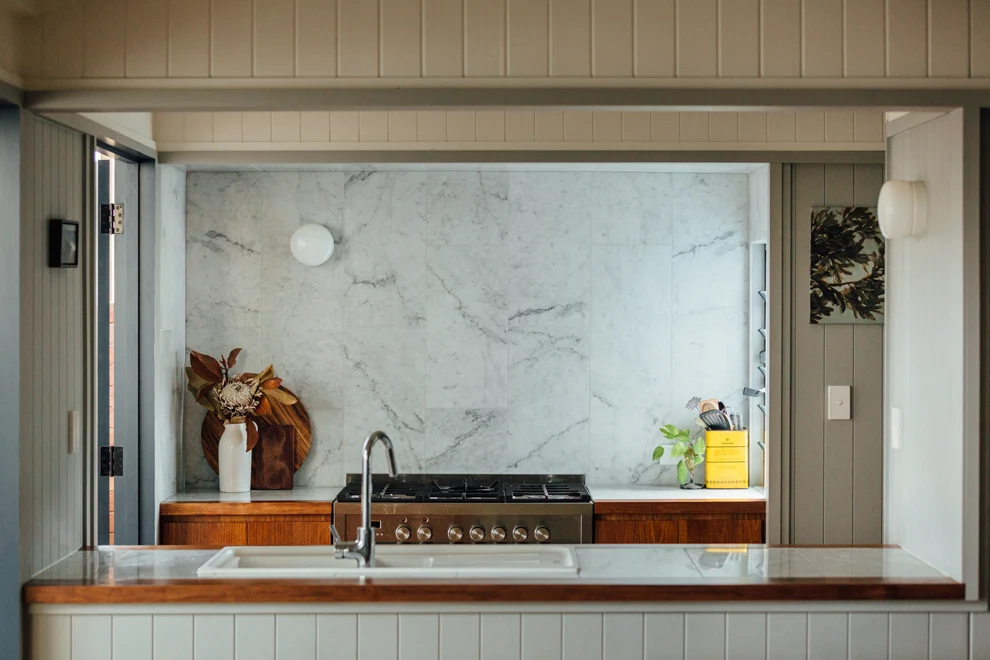 Photograph: Shantanu Starick
Cupboards need to be scrubbed first
You might have the cleanest kitchen cupboards in all of the land, but I can guarantee you that there will be some slight grime here and there. Grease and grime is the enemy of a good paint job. Even if you feel they are clean enough, clean them again just to be sure. Sugar soap is good for this, or a product called KrudKutter, if you can get your hands on it. You can use a green scouring pad too.
Remove the hinges and handles
A shortcut, like painting around handles and hinges, will ruin the look of your painted kitchen cupboards. The steadiest brush hand will accidentally tip some of the handles and hinges, especially if you are applying several coats. It will take longer, but it will make the cupboards far easier to paint and will give a better finish in the end. This is also a good opportunity to change old handles and knobs for new ones.
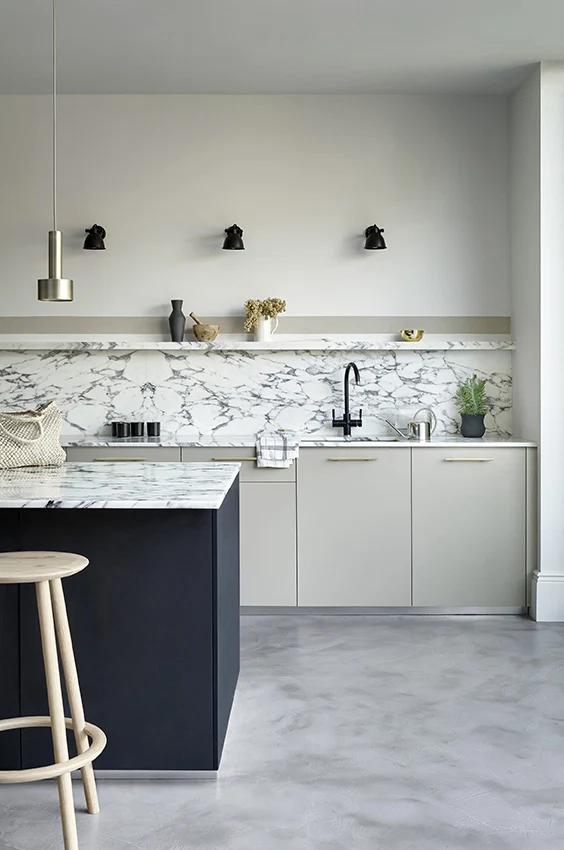
Paint & Paper Library Monochrome
Remove the doors and drawers
Removing doors and drawers is the best way to get a great finish. It will make the actual painting easier and leave you with nice clean hinges when all is done. The key with removing doors and drawers is to make sure you mark exactly what goes where. The last thing you need at the end of your kitchen makeover is trying to figure out where in the kitchen the door is supposed to go, they can all look pretty much the same but trust me, they’re not.
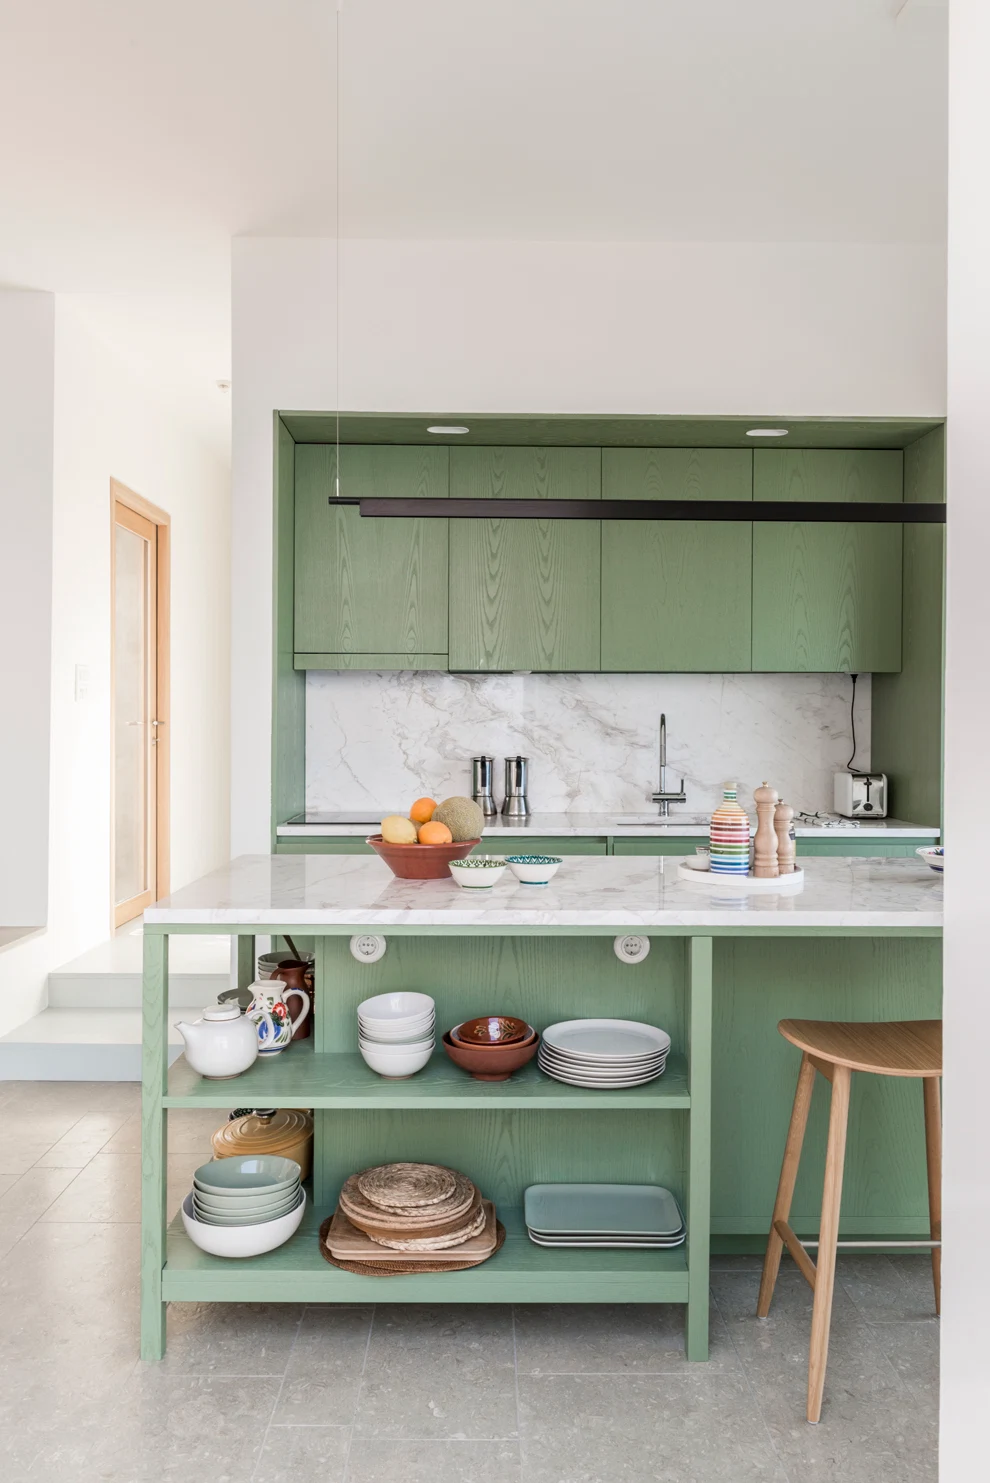
Ash veneer cabinets, brushed to emphasise their natural grain and painted a springy green.
Photograph: Christian Shaulin
Make sure to keep all screws and handles in one place like a bowl or small pot. Guard this with your life, missing screws when you are in the middle of replacing doors is a big pain! Once the door is removed, write its number in the place where the hinge goes and then cover over the number with some masking take. At the end of the job, simply peel away the tape to reveal the door number.
If you are painting doors, without removing them, then make sure to have enough small brushes to get into nooks and crannies. Start at the top and work down, and always paint the front of the door first and the back of the door second.
Don’t be tempted by primers that promise too much
You can buy some paint primers that can be applied without sanding the surface first, but don’t go down this road. Painted kitchen cupboards can get a lot more wear and tear than your standard paint surface, so you need to make sure there’s a good bond between paint and surface. The best way to do this is by sanding. If the surface is already smooth then all you need to do is remove the sheen. You can remove the sheen by giving it a really good rub down with high-grade sandpaper. A 240-grade paper or sanding sponge will be perfect for this.
Dust off before painting
Dusting off is one thing that can really catch you out. If you give your freshly sanded door a good dusting then first make sure to do it outside or in a room other than the room you plan to paint in. Dust in the air will snow down on your lovely paint and ruin the finish. Before you start painting give the surface a rub down with a tack cloth. A tack cloth is designed to gather up any dust left on the surface. You should really give the paint a quick rub down between coats too.
Choose your roller and brush wisely
When you start painting, it’s best to make sure your cupboard door is lying flat. You should use a small mohair roller and a 2-inch paintbrush. Start at the center panel first and paint your way to the outside. Use the mohair roller to apply paint where possible and then gently lay off the paint with the brush. When the door has been painted make sure to check that there isn’t a build-up of paint on the underside of the door. Keep a damp cloth on standby and wipe off any excess paint, otherwise when you flip the door around to paint the other side you will be faced with a build up of paint that needs to be sanded and scraped away before you can carry on.
You have two choices of paint
When painting your kitchen cupboards at home, you can use water-based or oil-based paint, and each has its pros and cons.
Water-based paint is better for the environment, is low-odour and dries quickly. It will probably need a water-based primer first, especially if you are painting over a previously painted surface. The downside is it will take more coats and the cure time is usually longer; it could be 7 days. This means the paint will be soft until cured and can be reactivated by wet hands or the steam from a kettle even. It needs to be kept completely dry until cured.
Oil based paint dries more slowly so its easier to get a nice finish, its harder wearing and if you’re painting over a previously painted surface then you shouldn’t need a primer. The drawbacks are that this paint has stronger fumes, is bad for the environment and you can only apply one coat a day, unlike water-based paint.
Featured image: The breezy Brisbane home of Australian artist Keith Burt and Irish-born gallery director Tarragh Cunningham, as photographed by Shantanu Starick, and originally featured in Image Interiors & Living July/August 2019.
Related Stories


Also Read


